Intro
In this tutorial, I'll show you how to adjust your Cura settings to get your printer up and running and thereby avoid using DaVinci software. Most likely, you are reading this because you use Linux. Brace yourself, because you'll need to tear a hole in the side of your machine to access the SD card. I know it sounds crazy, and I wish I was kidding, but this is the reality of proprietary 3D printers.
I've provided the start and end GCodes for easier copy/pasting at the bottom of this article.
Related project: There is an Open Source software pacakge on GitHub called MiniMover
that supposedly supports the DaVinci USB protocol. I have not tried it yet, but it may be of interest to you if you are attempting to avoid using DaVinci software.
How to Do It
To adjust your Cura settings for your XYZ DaVinci 1.0, follow these steps:
- Tear a hole in the side of your machine to access the SD card (yes, you read that right).
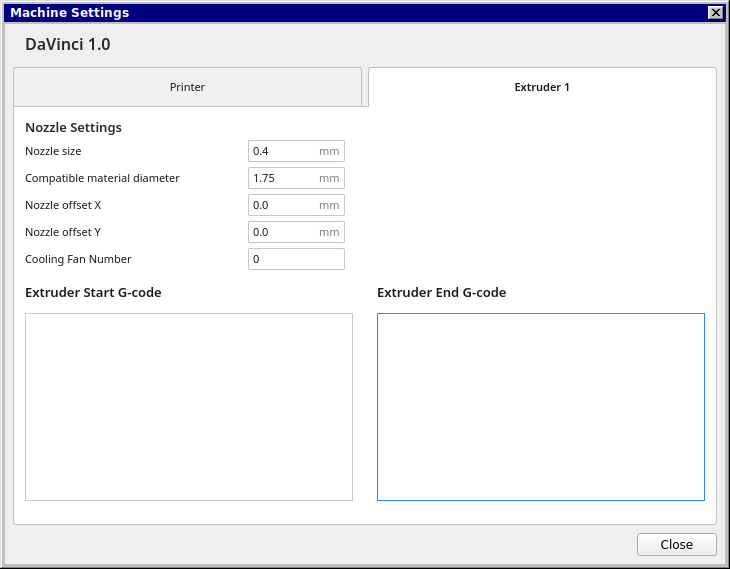
- Enter the settings provided below into Cura.
- Slice the model in Cura according to the designer's recommended settings.
- Save the GCode file as
SAMPLE01.gcode
on the SD card. - IMPORTANT: Replace all G0 commands with G1 commands using a text editor or GCode post processor. Skipping this step will result in a blob of plastic on your print. The XYZ firmware doesn't support G0 commands, which causes the Z-Axis to retract incorrectly and layers to pile on top of each other.
- Finally, print your masterpiece by selecting
DEMO
in the utilities menu.
Settings
Note: The start and end GCodes are provided below for easier copy/pasting.


Start GCode
G21
M107
G90
G92 E0
M82
G1 F1800.000 E-1.00000
G92 E0
G1 Z0.350 F5400.000
G1 X3.000 Y180.000
G1 F1800.000 E1.00000
G1 X3.000 Y80.000 F270.000 E10.24910
G1 X5.000 Y80.000 E10.43408
G1 X5.000 Y180.000 E19.68317
G1 X3.095 Y180.000 E19.85934
G1 F1800.000 E18.85934
G92 E0
End GCode
G92 E0
M107
M84